Bus Safety for My Kid
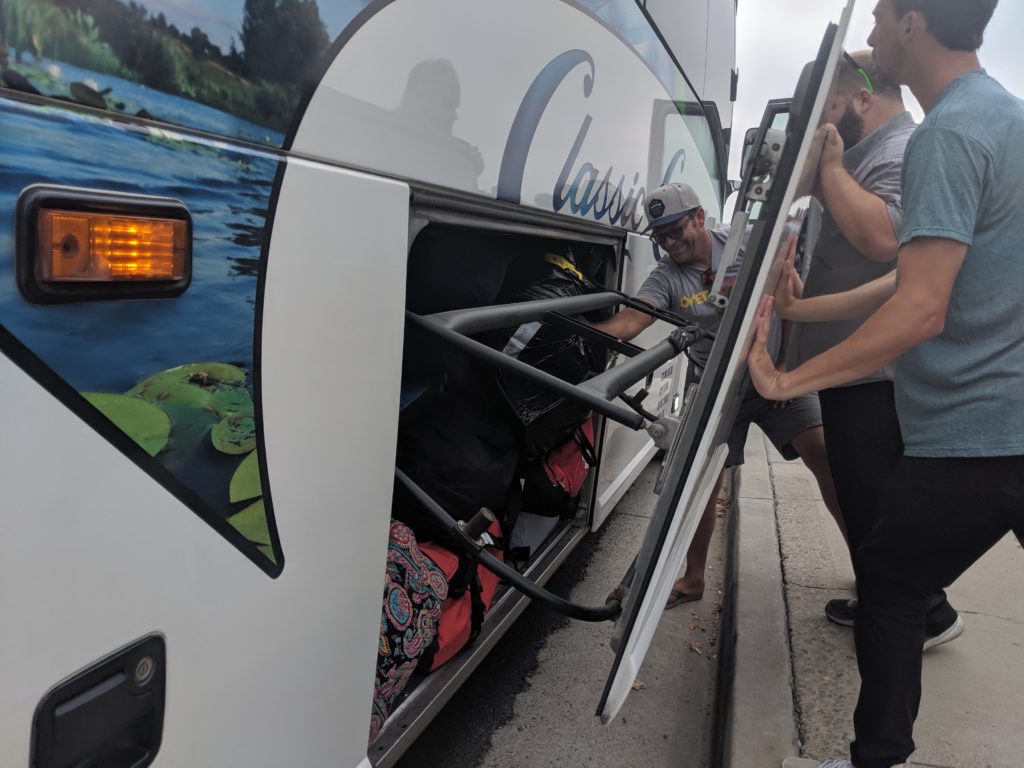
June 21, 2018Ever wonder how to load a bus, so that everything fits and there’s no wasted space? Matt helped his church load their bus this summer, and it reminded the seemingly simple is not always as easy as it appears when we try something for the first time. So we thought it would be good to go back to basics to help you on your next trip.
There are two things you need to get on your bus: your people and their stuff. We’ve got some tips to make the stuff part go better than you could imagine, making it painless and efficient.
Here’s 7 tips for loading your bus effectively:

- Assign a point person, and 3-4 additional people to help load each bus.
- This is their only job on departure date, until it’s finished
- Your point person should create a plan (or just follow ours below).
2. Gather all the luggage to be loaded
- First thing: Put it all in one place, for each bus. Don’t wait for passenger check in, you can use this time to get organized and loaded.
- Have multiple buses? color code or number tags to go to a central loading spot. Pick a cone, or trash can to sit near where your bus will stage, when it arrives.

Label multiple buses 
Put luggage all together to sort before loading
3. Sort the luggage.
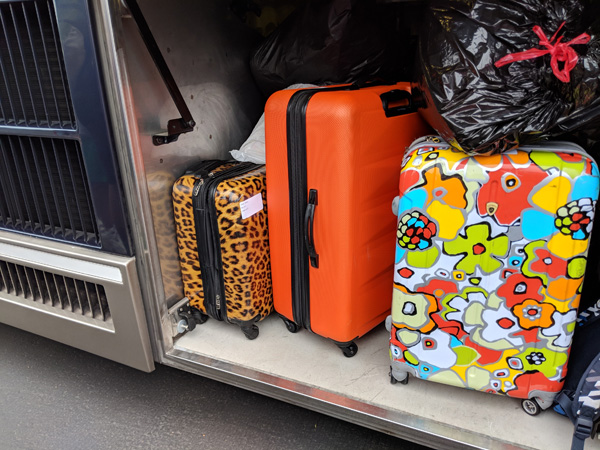
- First Layer: Solid Suit Cases, coolers, and boxes make a great base
- Second Layer: Bulky items like Duffle bags can go next (note skis, snowboards etc should get a dedicated luggage bay and can handle your entire passenger ski load there, stacked on itself).
- Third layer and empty spaces: Lastly soft sleeping bags, or other formable fill the voids. Shove-able, tuck-able, mash-able goods go here.

4. Pack from both sides
- Pack the Middle first (it’s really easy to waste the middle space if you don’t start there)
5. Have passengers take their pillows, backpacks and purses/bags onboard and place in overhead or under seats (think personal bags with wallets, glasses, books, etc
6. When you arrive at your destination everyone can help unload
- BUT before people look for their own luggage place it in a pile and get completely unloaded. This helps passengers find ALL of their luggage, plus it allows the bus to be completely emptied quickly without the mosh pit of passengers reaching in for their one bag while the line stays HUGE.
7. Designate one or two people to do a last sweep of the bus (you should tell your driver you will be doing this before they are released to leave)
- Check the inside of the bus (overhead and under seats, as well as in the seats).
- Look in bathroom, to make sure you don’t have a stowaway trying to escape or any personal items
- Pick up any glaring garbage piles to avoid cleaning fees
- Look in the cargo bays under bus…
- It’s a good idea to have the driver do this with you, we’ve had groups take the driver’s personal items accidentally as well has had customers forget the one bag with all the Audio visual cords for the week.
NOTE: If you appreciate the service and like your driver’s demeanor, helpfulness, responsiveness, etc, please remember to thank them with a kind word and a tip. A good rule of thumb is $80 – $150 per day of service or 10% of your total rental charge.
We hope these ideas help. If you’ve created or used other helpful tips we’d be excited if you’d share in the below comments.
See you soon!


